How to Use Manual.
Follow our step-by-step instructions to achieve professional results with your repair kit.
Our kits range from 1 to 6 colors.
- ● Single-Color Kit: No mixing required. Skip mixing steps.
- ● Multi-Color Kit: Follow mixing logic to match your surface.
Affects curing time only.
- ● Key Chain Light: Portable. Standard curing time.
- ● Pro Light: Powerful. Reduces curing time.

Key Chain
Standard Unit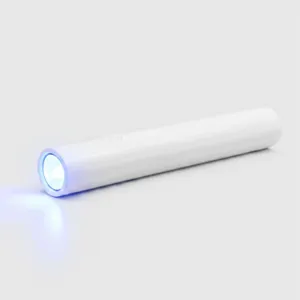
Pro Light
Professional Series- Sandpapers (220 & 2000 grit)
- Leveling Tape
- Microtips
- Syringes (Repair Materials)
- Blue Light Unit
- User Manual
* Note: The list above represents general kit contents. Exact quantities and colors may vary depending on the specific kit model you purchased.
- ● Quartz, Ceramic, acrylic, enameled, or fiberglass surfaces.
- ● Sinks, bathtubs, tiles, toilets, and other similar bathroom fixtures.
- ● Granite, marble and all other natural or engineered stone surfaces.
- ● Chips, nicks, pits, cracks or deep scratches.
- ● Defects larger than 2 x 2 x 2 mm (0.1 inch).
- ● Hairline cracks – too thin for the repair material to penetrate.
- ● Surfaces broken apart into multiple pieces (Not a glue).
- ● Defects in car windshields.
- How to repair hairline cracks?
For Best Results.
Use Leveling Tape
Please use leveling tape (3 pieces included) as shown on steps 5–8. Otherwise, a very thin part of the top layer of the filling will remain wet and sticky.
There is a small plastic bag containing three pieces of tape next to the sandpapers in the kit.
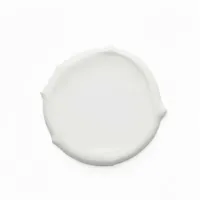
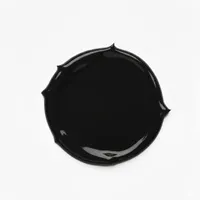
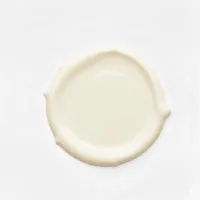
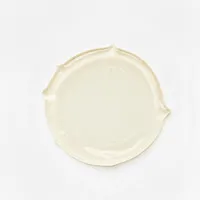
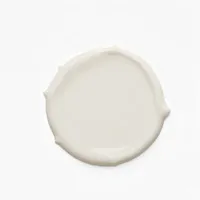
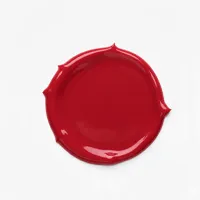
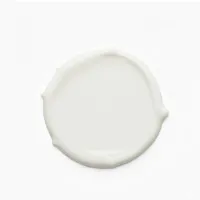
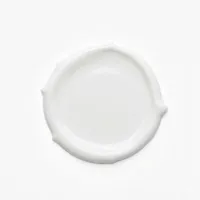
Know The Material
Different colors means different curing depth.
Storage Information
The shelf life of the repair material is 3 years when stored in room conditions.
- After using the syringe(s), close the cap to keep it safe.
- Keep away from direct sunlight and high temperatures.
Critical Adhesion
For better adhesion on critical defects use Clear Flow material as primer/basecoat as shown.
Apply Primer
Apply Clear Flow material to the bottom 2 inches and cure it.
Cure & Fill
Fill the remaining 2 inches with colored material, apply tape, and cure.
03. Process
Application Steps.
Clean the Area
Prior to the application, please be sure that the defected area is clean (with water or alcohol) and dry.
Tip: For better adhesion on critical defects use clear flow material as primer/basecoat.
Using Masking Tape
Please use masking tape (not included) when use on stones (natural and engineered), acrylics and fiberglass.
Do not apply the masking tape too close or too far from the defect area. Ensure it is far enough to sand the material easily but close enough to avoid scratching the surrounding area during sanding.
For Deep Defects
If you have a defect deeper than 2 mm, fill half of the depth with clear material and cure it before starting the repair. Ensure there is a gap of 1.5 - 2 mm from the surface level.
Mixing Colors
When mixing different colors, mix different colors on a separate surface prior to filling the defect. Use a toothpick (or any other small stick) for mixing. Once a suitable color is achieved, fill the defect with the help of the stick included in the kit.
Important: Avoid excessive overfilling (fill slightly above the surrounding surface), as this will require extra sanding later.
Curing
Still holding the leveling tape, cure with blue light. After pressing the start button, hold the blue light unit 0.4-0.8 in (1-2 cm) above the repaired area for 60 seconds (one push on the start button, device shines for 60 seconds).
For larger than 0.1 x 0.1 x 0.1 in ( 2 x 2 x 2 mm) size chips and dark colors, you may want to cure the filling 60-120 seconds to be sure it has completely hardened. Each section (1 sqcm) of the area should be cured separately to guarantee the entire patch completely solidifies.
You can remove the tape after 30 seconds and continue curing for another 60 seconds.
Sanding
After the curing process is complete, sand the surface with the 220 grit sandpaper included in the kit. Clean the sanding dust with a cloth periodically and continue sanding until the surface is flat.
After leveling the surface with 220 grit sandpaper, apply the 2500 grit sandpaper wet to the surface.
Polishing
Remove the masking tape (if used) and then pour some polishing paste, gently polish with the help of paper towel or cloth.
Used tips can be kept as they are (without a problem) away from light, the material (in the tips) will remain uncured. Place the syringes (with used tips on top of them) in the box and keep as they are until next time. Please use alcohol if cleaning of the tips are needed.
Tip: To avoid dispensing too much polishing paste at once, touch the tip of the syringe to the surface while squeezing.
Watch Tutorials.
Master the technique with our comprehensive video guide to see the exact technique for a perfect, invisible repair.
Ready to Repair?
Find the perfect kit for your surface. From granite to acrylic, we have the specialized materials you need.
Technical Data.
Detailed specifications, material properties, and safety data sheets for all our products.